Here’s our January 2019 client newsletter.
Click Here to see the full newsletter
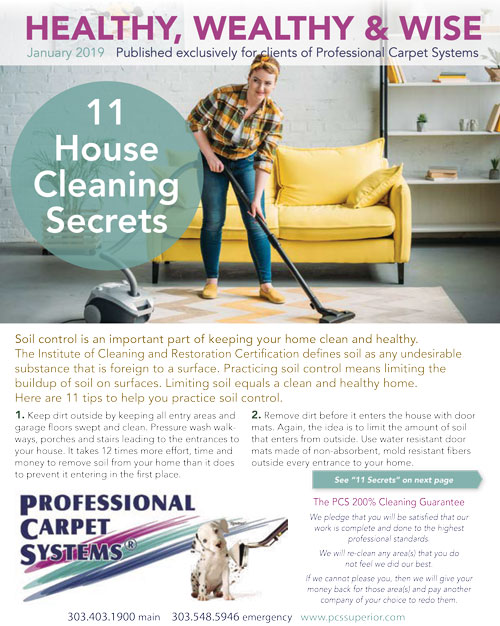
11 House Cleaning Secrets
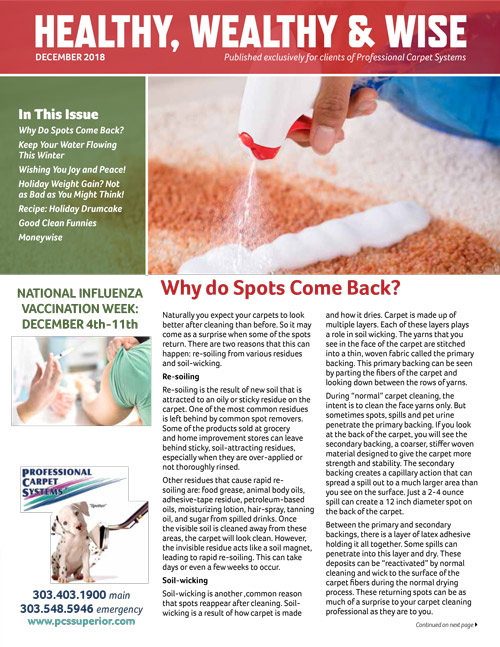
Soil control is an important part of keeping your home clean and healthy. The Institute of Cleaning and Restoration Certification defines soil as any undesirable substance that is foreign to a surface. Practicing soil control means limiting the buildup of soil on surfaces. Limiting soil equals a clean and healthy home. Here are 11 tips to help you practice soil control.
1. Keep dirt outside by keeping all entry areas and garage floors swept and clean. Pressure wash walkways, porches and stairs leading to the entrances to your house. It takes 12 times more effort, time and money to remove soil from your home than it does to prevent it entering in the first place.
2. Remove dirt before it enters the house with door mats. Again, the idea is to limit the amount of soil that enters from outside. Use water resistant door mats made of non-absorbent, mold resistant fibers outside every entrance to your home.
3. Stop dirt at the door by adding another doormat just inside your home. This mat should be made of an absorbent material such as nylon, cotton or wool. Washable throw rugs work great, provided they don’t slide around or become a tripping hazard. Vacuum or wash the mat twice a week.
4. Keep outdoor shoes out of the house. Take off your shoes at the door and wear indoor shoes, slippers or socks around the house. Don’t go barefoot all the time; the natural oils on your feet attach to the carpet and attract soil.
5. Brush and groom your pets regularly – preferably outdoors.
6. Change your furnace filter every 30 days when it is in use. Opt for a high efficiency allergen-trapping filter – it will be $15-20 well-spent.
7. Keep your kitchen vent hood clean… and use it. These vents trap moisture, oils and odors that would otherwise end up in your carpet.
8. Use a bathroom vent. Humidity in the bathroom can lead to mold growth. Let the fan run 10 minutes after you shower or bathe.
9. Vacuum regularly. This is the most important step in carpet maintenance. 74-79% of the soil in typical household carpet can be removed by regular vacuuming. If these dry soils are allowed to remain, some of them break down and oxidize, creating a perfect breeding ground for fungi, bacteria and unpleasant odors. Grittier soils adhere to sticky or oily residues on carpet fibers, causing abrasion and permanent damage. Regular vacuuming reduces these effects so carpets last longer.
10. Vacuum furniture. You should vacuum your upholstered furniture, drapery and blinds for the same reasons listed above. When you dust your furniture, do so gently, and slowly. It is best to do this with a duster attachment on your vacuum cleaner. Allow the dust to settle for an hour or so; then vacuum the carpet or floor.
11. Have your carpets and upholstery professionally cleaned at least once a year, at a minimum. Homes with more people, pets and especially those with young children, should be cleaned more frequently.